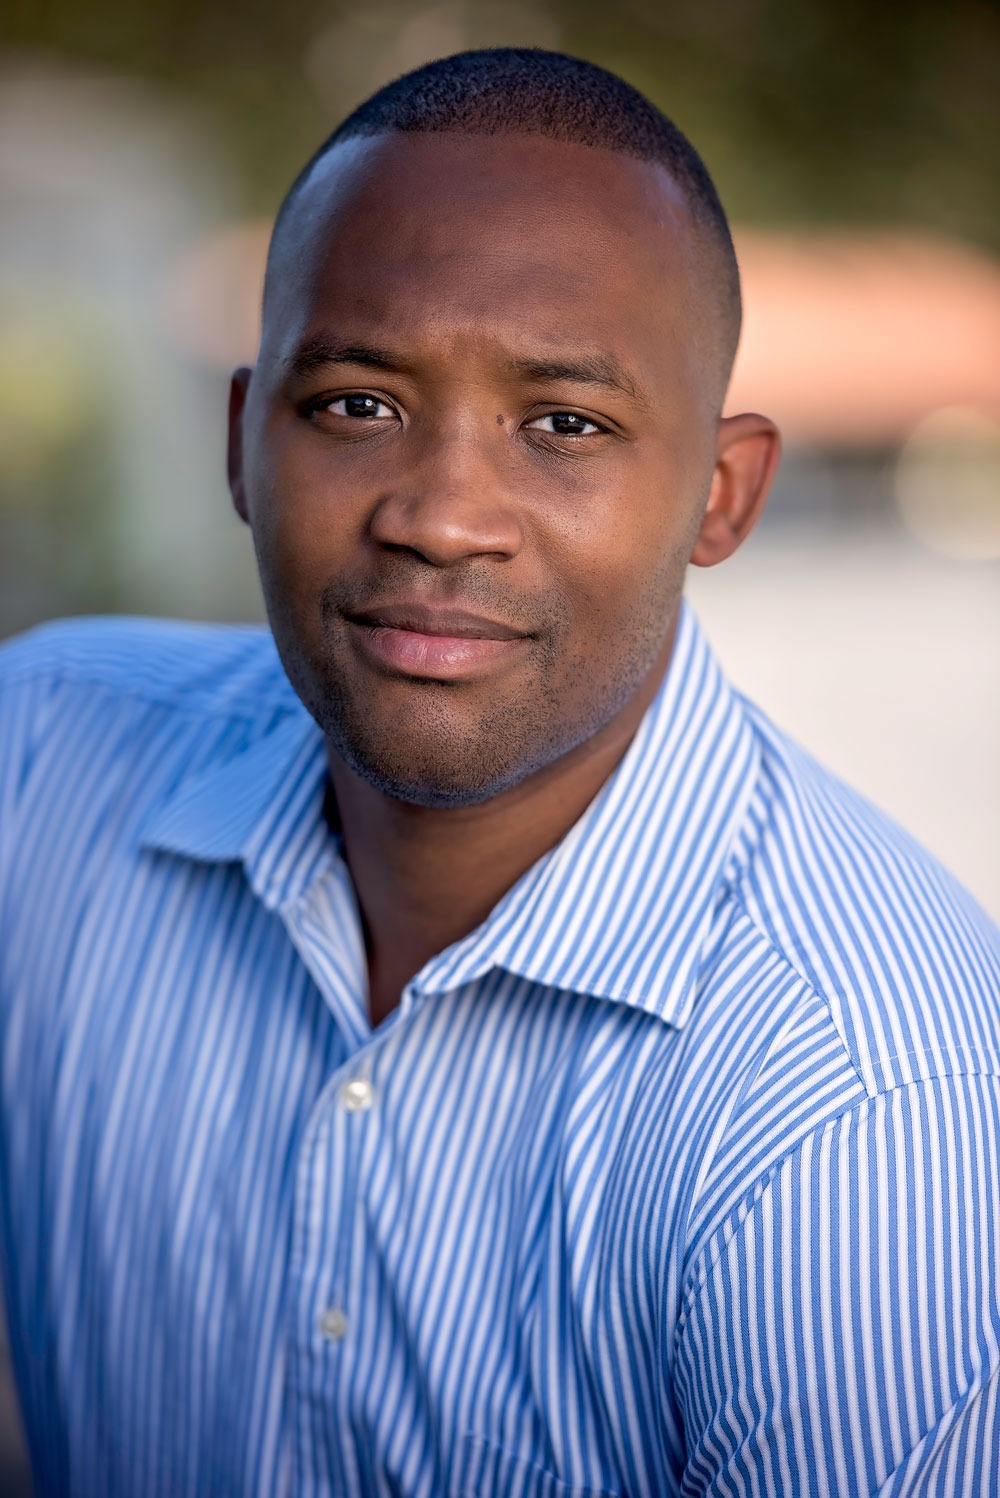
Simply put, there is a lot more to photography than just pressing the shutter. Working with clients before-and-after the session is important. But most of the work comes after you’ve finished the session and have begun editing the photos. For every 1 hour spent taking pictures, there is at least 2-3 hours spent editing. Here is a quick glimpse into how I edit my photos 🙂
Backing Up The Photos
.jpg)
I once had a potential wedding client respond to my pricing by saying, “…you charge more than a medical doctor!” The important factor that a lot of clients may overlook is that the majority of the “work” occurs during the editing process. The very first thing I do, is to make sure your photos are backed up and secure. For portrait sessions, I make sure to have at least two copies of your unedited images. I work off of one set of these images, and keep the other set as a backup. For weddings, I keep at least three sets of the unedited images.
One set is kept on an external hard drive, another is automatically backed up through a cloud service (I use Backblaze), and I keep a large JPEG copy in camera. Backing up the photos from an hour session may take around 20 minutes. But backing up wedding photos may take up to 2 hours!
Culling the Images
.jpg) Culling is the process of choosing which images get edited. I tend to take a lot of images – especially of sessions with kids and of weddings! For a typical hour session, I take around 400 or more images; and for an 8 hour wedding I end may up with 3-5,000 images. For this reason, the culling of images makes up a good chunk of the editing time. Culling images from a 60 minute portrait session takes 30-45 minutes. For an 8 hour wedding, it may take me 6-8 hours. If I am able to sit behind the computer, uninterrupted and with some good music, I can get through them closer to 6!
Culling is the process of choosing which images get edited. I tend to take a lot of images – especially of sessions with kids and of weddings! For a typical hour session, I take around 400 or more images; and for an 8 hour wedding I end may up with 3-5,000 images. For this reason, the culling of images makes up a good chunk of the editing time. Culling images from a 60 minute portrait session takes 30-45 minutes. For an 8 hour wedding, it may take me 6-8 hours. If I am able to sit behind the computer, uninterrupted and with some good music, I can get through them closer to 6!
White Balance and Exposure Correcting
Images rarely, if ever, come out of the camera how they are actually delivered to the client. Light has a WIDE variety of colors. For example, images captured during sunrise/sunset are very vibrant; window light gives off a blue hue; and florescent light bulbs can give off a very orange-ish look. White balance aims to make sure that these colors are reflected accurately in an image..jpg)
Exposure correcting refers to making sure that the image has the right amount of brightness. For example, I may purposely underexpose a shot in camera – so that the details can be properly adjusted on the computer later. This is why I particularly do not like to show my clients their images in camera 🙂
Lucky for me, I outsource this part of my workflow. I have been using Evolve Edits for several years now. They are the cornerstone in the process of how I edit my photos. They enable me to deliver my clients images that have consistently balanced. And they turn the images around in just 3-5 business days. Once I get the images back, I take them through a batch editing process in Photoshop – which takes about 60 seconds an image. From there, I am ready to upload the images.
Uploading and Deliver the Images
The last part of the editing process is the simplest one! Since I upload my clients the high resolution images, this takes a little bit of time. I’ve found an excellent technology that sizes down the final images – without losing ANY image quality (Jpeg Mini). .jpg) For my image galleries, I use a company called Shootproof. They have beautiful galleries that allow my clients to view/download their images – as well as other features that allow you to “favorite” and share images on social media. Depending on the number of images, this process may take 30 minutes for a portrait session or several hours for a wedding.
For my image galleries, I use a company called Shootproof. They have beautiful galleries that allow my clients to view/download their images – as well as other features that allow you to “favorite” and share images on social media. Depending on the number of images, this process may take 30 minutes for a portrait session or several hours for a wedding.
After your images have been uploaded to the online viewing gallery, I make sure to keep a copy of your edited and unedited images on hand.
All-in-all, the editing process takes a good amount of time. Hopefully this article was helpful in getting an in-depth understanding of how I edit my photos.


